Ice cream, the timeless frozen treat, holds a special place in the hearts of people worldwide. Its creamy texture and delightful flavors make it the perfect dessert for any occasion. While store-bought ice cream is readily available, there’s something truly magical about crafting your own batch of homemade vanilla ice cream. In this comprehensive guide, we’ll explore the world of homemade ice cream, specifically focusing on the classic favorite – vanilla. Whether you have an ice cream maker or not, we’ve got you covered with a range of recipes and techniques. Get ready to embark on a journey that will elevate your dessert game and leave your taste buds singing!
Table of Contents:
- The Magic of Homemade Vanilla Ice Cream
- The allure of homemade ice cream
- Why homemade vanilla ice cream is a crowd-pleaser
- A brief history of vanilla ice cream
- Equipment Essentials: Ice Cream Makers and Beyond
- Homemade ice cream makers: Types and options
- Making ice cream without a machine: Creative alternatives
- The Classic Vanilla Ice Cream Recipe (With an Ice Cream Maker)
- Ingredients you’ll need
- Step-by-step instructions
- Tips for perfect homemade vanilla ice cream
- Creamy Delight: Homemade Vanilla Ice Cream with Condensed Milk
- The role of condensed milk in ice cream
- Recipe and preparation steps
- Variations and flavor enhancements
- Quick and Easy Vanilla Ice Cream: No Machine Required
- A step-by-step guide to making ice cream without a machine
- Achieving the perfect texture
- Flavor customization options
- Perfecting Your Homemade Vanilla Ice Cream
- Troubleshooting common issues
- Storing homemade ice cream
- Creative serving suggestions and toppings
- Beyond Vanilla: Exploring Flavor Variations
- Taking your homemade ice cream game to the next level
- Unique and exciting flavor combinations
- The Quest for the Best: Tips and Tricks for the Ultimate Vanilla Ice Cream
- Secrets of expert ice cream makers
- Experimentation and innovation
- Homemade Ice Cream: A Family Affair
- Fun ice cream-making activities for kids
- Creating lasting memories
- Conclusion: Savoring the Fruits of Your Labor
Chapter 1: The Magic of Homemade Vanilla Ice Cream
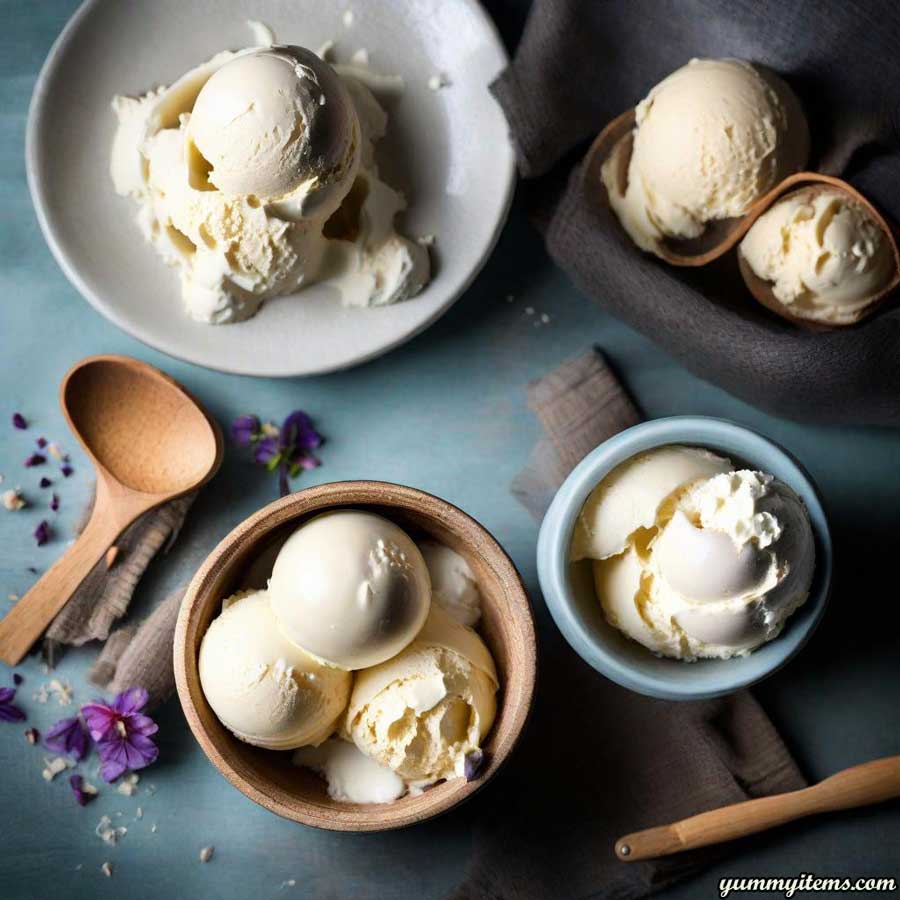
The allure of homemade ice cream lies in its simplicity and the satisfaction of creating something delicious from scratch. It’s a delightful combination of creaminess, sweetness, and that unmistakable hint of pure vanilla. Whether enjoyed in a cone on a hot summer day or as a decadent accompaniment to a slice of pie, homemade vanilla ice cream is the perfect treat for all seasons.
Why Homemade Vanilla Ice Cream?
There are several reasons why homemade vanilla ice cream holds a special place in our hearts:
- Pure Ingredients: When you make ice cream at home, you have control over the quality of ingredients you use. You can select the finest vanilla beans, freshest cream, and the perfect amount of sugar, resulting in a superior product.
- Endless Customization: Homemade ice cream is a canvas waiting for your creativity. You can experiment with different flavors, mix-ins, and toppings to create unique desserts tailored to your taste.
- Nostalgia and Tradition: Many of us have fond memories of churning ice cream on hot summer days or savoring a scoop from an old-fashioned ice cream parlor. Homemade ice cream carries the nostalgia of simpler times.
- Healthier Choices: Homemade ice cream allows you to control the ingredients, making it easier to avoid artificial additives, excessive sugar, or preservatives. You can even explore dairy-free or lower-sugar options.
A Brief History of Vanilla Ice Cream
Vanilla ice cream’s history is rich and intriguing. While the exact origin remains a subject of debate, here’s a glimpse into its journey:
- Ancient Origins: Some believe that the concept of ice cream can be traced back to ancient China, where a mixture of rice and milk was frozen. Others credit Persian traders with bringing early versions of ice cream to the Middle East.
- European Introduction: Ice cream was introduced to Europe by Marco Polo, who reportedly encountered a frozen dessert resembling ice cream during his travels in China. It gradually gained popularity among European nobility.
- The French Connection: In the 17th century, French chefs refined the ice cream-making process, adding eggs and creating a creamier texture. Vanilla, introduced to Europe from the New World, became a popular flavoring.
- America’s Love Affair: Ice cream made its way to America, where it became a favorite dessert. Thomas Jefferson is credited with popularizing ice cream in the United States by serving it at state dinners during his presidency.
- The Birth of Homemade Ice Cream: The 19th century brought ice cream-making into homes with the invention of hand-cranked ice cream makers. Families gathered around these contraptions, taking turns cranking the handle until they had a delicious treat.
Now that we’ve explored the allure and history of homemade vanilla ice cream, let’s delve into the equipment you’ll need to create this delightful dessert in your own kitchen.
Chapter 2: Equipment Essentials: Ice Cream Makers and Beyond
Creating homemade ice cream is a joyous experience, and having the right equipment can make all the difference. The two primary routes to making ice cream at home are using an ice cream maker or opting for a no-machine method. Let’s explore both options in detail.
Homemade Ice Cream Makers: Types and Options
Ice cream makers come in various types, each with its own set of advantages and disadvantages. Here are the main types of ice cream makers you can consider:
- Manual Ice Cream Makers: These classic machines require you to hand-crank a churn to freeze the ice cream mixture. They are nostalgic and offer a more hands-on experience. While they can be a bit labor-intensive, the reward is creamy, homemade ice cream.
- Electric Ice Cream Makers: Electric machines automate the churning process, making it much easier to prepare ice cream. They typically have a removable freezer bowl that needs to be pre-frozen before use. Just pour in your mixture, press a button, and let the machine do the work.
- Compressor Ice Cream Makers: These advanced machines have a built-in freezer, eliminating the need for pre-freezing the mixing bowl. They can continuously churn batch after batch of ice cream, making them ideal for larger quantities or frequent use.
- Gelato Makers: While designed for making gelato, these machines can also create creamy ice cream. Gelato makers churn at a slower speed and incorporate less air, resulting in a denser and smoother product.
Making Ice Cream Without a Machine: Creative Alternatives
If you don’t have an ice cream maker, don’t worry; you can still enjoy homemade ice cream using alternative methods. Here are a few creative approaches:
- The Bag Method: This fun and easy technique involve placing your ice cream mixture in a sealed plastic bag and shaking it vigorously in a larger bag filled with ice and salt. The salt lowers the freezing point of the ice, allowing the mixture to freeze.
- Whipping and Freezing: Whip your ice cream base with a hand mixer or blender until it’s airy, then freeze it in a shallow container. Stir it occasionally while it freezes to prevent ice crystals from forming.
- Frozen Cubes and Blender: Freeze your ice cream mixture in ice cube trays. Once frozen, blend the cubes in a powerful blender until smooth. This method yields a creamy texture similar to churned ice cream.
- No-Churn Recipes: Many no-churn ice cream recipes are available, which rely on ingredients like whipped cream and condensed milk to create a creamy texture without the need for a machine.
Now that you’re familiar with the equipment options, it’s time to dive into the classic vanilla ice cream recipe using an ice cream maker.
Chapter 3: The Classic Vanilla Ice Cream Recipe
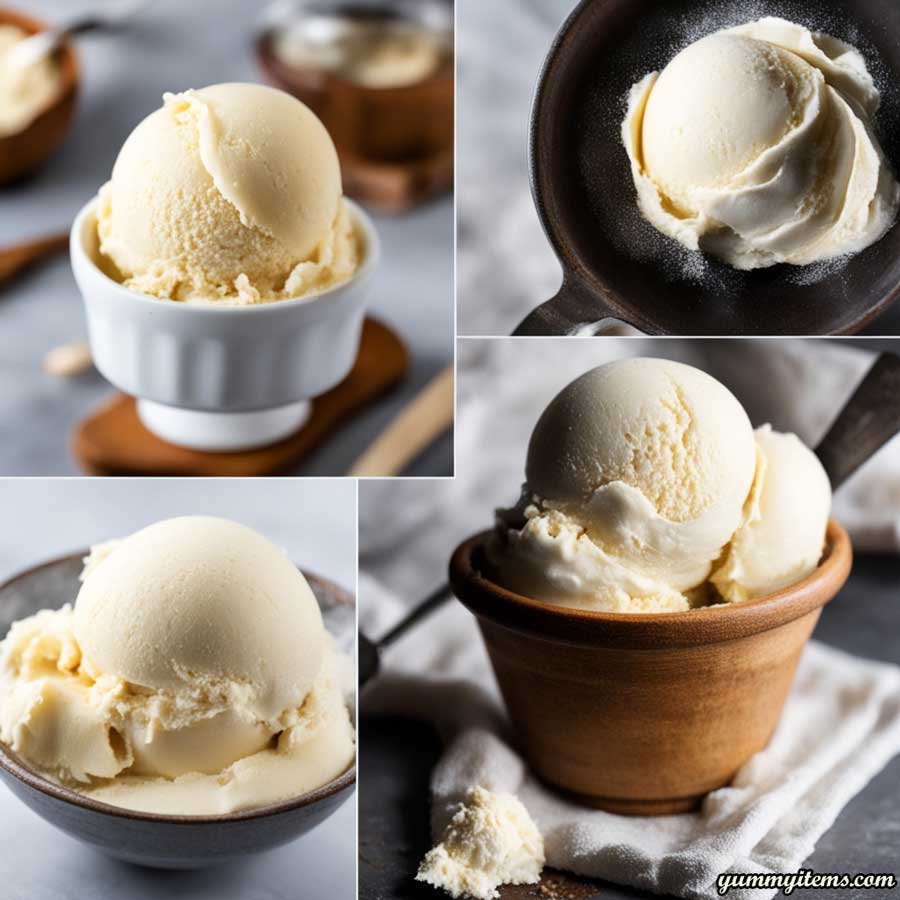
When it comes to homemade ice cream, nothing beats the classic vanilla flavor. This timeless recipe provides a smooth and creamy base, allowing the pure essence of vanilla to shine. If you own an ice cream maker, this is your go-to recipe for a delectable treat. So, let’s get started!
Ingredients You’ll Need:
- 2 cups heavy cream
- 1 cup whole milk
- 3/4 cup granulated sugar
- 2 tablespoons pure vanilla extract
- A pinch of salt
Step-by-Step Instructions:
- Chill the Ice Cream Maker: Before you begin, ensure that your ice cream maker’s freezing bowl is thoroughly frozen. It usually takes about 24 hours in the freezer.
- Prepare the Ice Cream Base: In a mixing bowl, whisk together the heavy cream, whole milk, granulated sugar, vanilla extract, and a pinch of salt until the sugar has completely dissolved.
- Chill the Mixture: Cover the bowl with plastic wrap and refrigerate the mixture for at least 2 hours or, ideally, overnight. Chilling it thoroughly enhances the texture of your ice cream.
- Churn the Ice Cream: Take the chilled mixture and pour it into the frozen bowl of your ice cream maker. Turn the machine on and let it churn according to the manufacturer’s instructions, typically about 20-25 minutes. During this time, the mixture will thicken and freeze.
- Serve or Store: Once the ice cream has reached the desired consistency (typically soft-serve texture), it’s ready to enjoy immediately. For a firmer texture, transfer it to an airtight container and freeze for an additional 2-4 hours.
- Scoop and Savor: Scoop your homemade vanilla ice cream into bowls or cones, and savor the creamy, dreamy goodness.
Tips for Perfect Homemade Vanilla Ice Cream:
- Use High-Quality Ingredients: The quality of your ingredients matters. Opt for pure vanilla extract and fresh dairy for the best flavor.
- Don’t Skip the Chilling Step: Chilling the mixture thoroughly before churning helps prevent ice crystals and results in a smoother texture.
- Experiment with Vanilla: Try using vanilla beans or vanilla paste for an even richer vanilla flavor and the visual appeal of vanilla specks.
- Add Mix-Ins: Feel free to fold in mix-ins like chocolate chips, crushed cookies, or chopped nuts during the last few minutes of churning.
- Get Creative with Toppings: Elevate your vanilla ice cream with a variety of toppings, such as hot fudge sauce, caramel, fresh berries, or whipped cream.
With this classic vanilla ice cream recipe, you’re well on your way to creating a delicious treat for your family and friends. But why stop at classic vanilla when there are so many exciting variations to explore? In the next chapter, we’ll dive into the world of vanilla ice cream with condensed milk.
Chapter 4: Creamy Delight: Homemade Vanilla Ice Cream with Condensed Milk
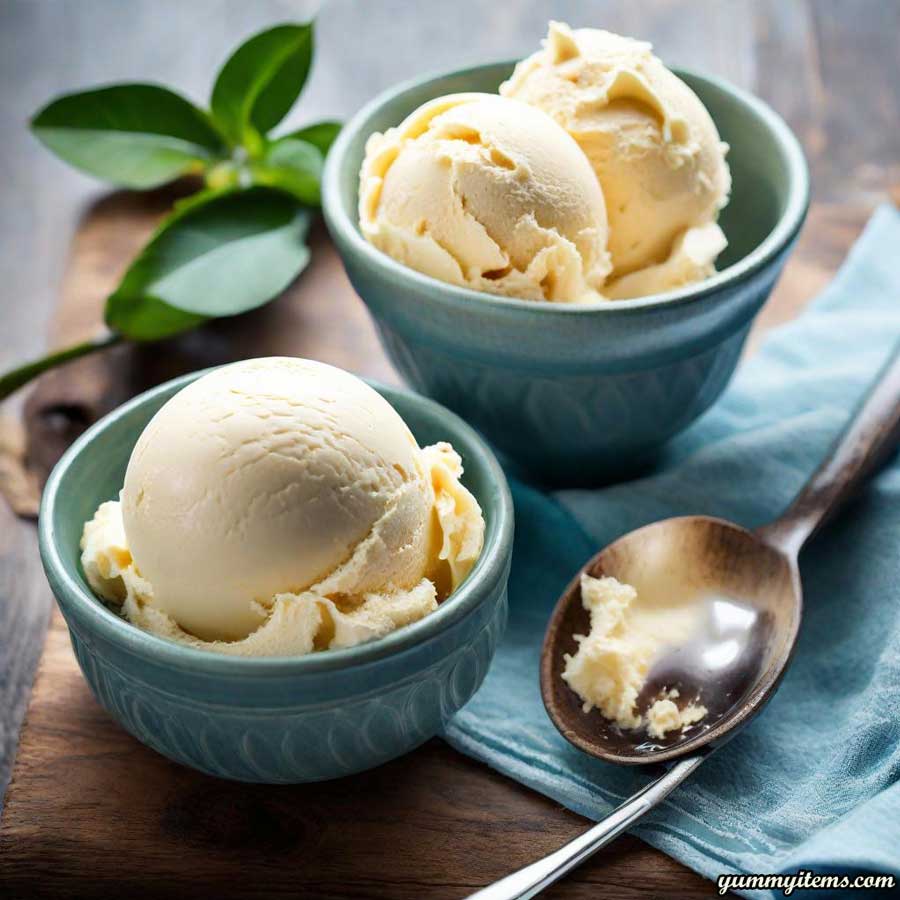
If you’re looking for a shortcut to creamy homemade ice cream, condensed milk is your secret weapon. This ingredient adds richness and sweetness to your vanilla ice cream while eliminating the need for granulated sugar. Here’s how to create this delightful dessert.
The Role of Condensed Milk in Ice Cream
Condensed milk, a sweetened dairy product with a thick, syrupy consistency, is the star of this show. Its high sugar content helps prevent the formation of ice crystals, resulting in a smoother and creamier ice cream. Additionally, it provides a lovely sweetness that complements the vanilla flavor perfectly.
Recipe and Preparation Steps:
Ingredients You’ll Need:
- 2 cups heavy cream
- 1 can (14 ounces) sweetened condensed milk
- 2 tablespoons pure vanilla extract
Step-by-Step Instructions:
- Chill the Mixing Bowl: Just like in the classic recipe, start by placing your mixing bowl and beaters (if using an electric mixer) in the freezer for about 15 minutes. This will help whip the cream more efficiently.
- Whip the Cream: In the chilled mixing bowl, pour in the heavy cream and whip it until stiff peaks form. This means that when you lift the beaters, the cream holds its shape without collapsing.
- Fold in Condensed Milk and Vanilla: Gently fold the sweetened condensed milk and pure vanilla extract into the whipped cream until the mixture is well combined. Be careful not to deflate the whipped cream.
- Transfer to a Container: Pour the ice cream mixture into an airtight container. You can also fold in any mix-ins at this stage if desired.
- Freeze: Cover the container and place it in the freezer for at least 4-6 hours, or until the ice cream has hardened to your liking.
- Serve and Enjoy: Scoop out your homemade vanilla ice cream with condensed milk, garnish it with your favorite toppings, and savor the creamy delight.
Variations and Flavor Enhancements:
While this recipe produces a classic vanilla ice cream, you can experiment with various flavor enhancements:
- Fruit Swirl: Swirl in fruit preserves or compote for a fruity twist.
- Chocolate Lover’s Dream: Fold in chocolate chips or chunks for a chocolate-vanilla combo.
- Nutty Crunch: Add chopped nuts like almonds, pecans, or pistachios for a delightful crunch.
- Cookie Monster: Crush your favorite cookies and fold them in for cookie-flavored ice cream.
- Caramel Swirl: Drizzle caramel sauce into the ice cream mixture for a sweet, gooey surprise.
With this condensed milk-based recipe, you’ll have a velvety vanilla ice cream ready to enjoy in no time. But what if you don’t have an ice cream maker? Not to worry; we’ve got you covered with a quick and easy no-machine vanilla ice cream recipe in the next chapter.
Chapter 5: Quick and Easy Vanilla Ice Cream: No Machine Required
You don’t need a fancy ice cream maker to enjoy homemade ice cream. With a few simple ingredients and some creative techniques, you can whip up a batch of delicious vanilla ice cream without the need for any special equipment. Let’s explore this no-machine method step by step.
A Step-by-Step Guide to Making Ice Cream Without a Machine
Ingredients You’ll Need:
- 2 cups heavy cream, chilled
- 1 can (14 ounces) sweetened condensed milk, chilled
- 2 tablespoons pure vanilla extract
- A pinch of salt
Instructions:
- Chill Your Mixing Bowl: Place a mixing bowl and beaters (if using an electric mixer) in the freezer for about 15 minutes. Cold equipment helps whip the cream more effectively.
- Whip the Cream: In the chilled mixing bowl, pour in the cold heavy cream. Whip it until stiff peaks form. This means that the cream holds its shape when you lift the beaters.
- Combine with Condensed Milk and Vanilla: Gently fold the chilled sweetened condensed milk, pure vanilla extract, and a pinch of salt into the whipped cream. Be careful not to deflate the whipped cream; the goal is to maintain its airy texture.
- Transfer to a Container: Pour the ice cream mixture into an airtight container. If you’d like to add any mix-ins, like chocolate chips or cookie pieces, now is the time to do so.
- Freeze: Cover the container and place it in the freezer for at least 4-6 hours or until the ice cream has hardened to your desired consistency.
- Serve and Enjoy: Scoop out your homemade vanilla ice cream, add your favorite toppings, and revel in the creamy goodness.
Achieving the Perfect Texture
Here are some tips to ensure that your no-machine vanilla ice cream turns out creamy and luscious:
- Chill Everything: Make sure all your ingredients, especially the heavy cream and condensed milk, are thoroughly chilled before starting. This helps with whipping and texture.
- Don’t Overmix: When folding in the condensed milk and vanilla, be gentle to avoid deflating the whipped cream. A light hand is key to maintaining a creamy texture.
- Mix-Ins: If you’re adding mix-ins like chocolate chips or fruit, fold them in gently at the end to distribute them evenly without overmixing.
- Serve Soon: Homemade no-machine ice cream can be a bit softer than store-bought versions. If you prefer a firmer texture, freeze for a bit longer, but keep in mind that it’s best enjoyed shortly after removing it from the freezer.
Now that you’ve mastered the art of making ice cream without a machine, it’s time to explore troubleshooting tips, storage guidelines, and creative serving suggestions in the next chapter.
Chapter 6: Perfecting Your Homemade Vanilla Ice Cream
Creating the perfect batch of homemade vanilla ice cream can sometimes be a bit tricky. But fear not! We’re here to troubleshoot common issues, provide storage tips, and suggest creative ways to serve your delicious creation.
Troubleshooting Common Issues
- Ice Crystals: Ice crystals can form if the ice cream mixture isn’t properly chilled before churning. Ensure that your mixture is thoroughly chilled, and consider adding a tablespoon of vodka or another spirit to lower the freezing point.
- Too Soft or Runny: If your ice cream turns out too soft or runny, it may not have been churned long enough. Return it to the freezer for additional freezing time.
- Too Hard to Scoop: Homemade ice cream can sometimes become too hard in the freezer. To soften it, let it sit at room temperature for a few minutes before scooping or dip the scooper in hot water.
- Grainy Texture: A grainy texture can result from using low-fat dairy or overcooking the base. Make sure to use high-fat dairy and avoid overcooking your mixture.
- Lack of Creaminess: If your ice cream lacks creaminess, it may be due to overmixing or not using enough fat in the base. Be gentle when folding ingredients, and use full-fat dairy for the best results.
Storing Homemade Ice Cream
To keep your homemade ice cream fresh and delicious, follow these storage guidelines:
- Airtight Container: Transfer your ice cream to an airtight container to prevent freezer burn and the absorption of other odors.
- Press Plastic Wrap: Press plastic wrap directly against the surface of the ice cream before sealing the container to minimize air exposure.
- Deep Freeze: Store your ice cream in the coldest part of your freezer, usually at the back. This helps maintain a consistent temperature and prevents ice crystals from forming.
- Eat Within a Month: Homemade ice cream is best enjoyed within a month of making it. While it’s safe to eat beyond this time, the quality may deteriorate.
Creative Serving Suggestions and Toppings
Elevate your homemade vanilla ice cream with these creative serving suggestions and toppings:
- Affogato: Pour a shot of hot espresso over a scoop of vanilla ice cream for a delightful coffee-flavored treat.
- Ice Cream Sandwiches: Sandwich a scoop of vanilla ice cream between two homemade cookies for a satisfying ice cream sandwich.
- Banana Split: Go classic with a banana split topped with whipped cream, chocolate sauce, and cherries.
- Root Beer Float: Combine vanilla ice cream with root beer for a fizzy and nostalgic float.
- Warm Dessert: Pair your ice cream with warm desserts like brownies, pie, or fruit crisps for a delightful contrast.
With these troubleshooting tips, storage guidelines, and serving suggestions, you’ll be well-prepared to enjoy your homemade vanilla ice cream to the fullest. But why stop at vanilla when there’s a world of flavors to explore? In the next chapter, we’ll venture into the realm of flavor variations.
Chapter 7: Beyond Vanilla: Exploring Flavor Variations
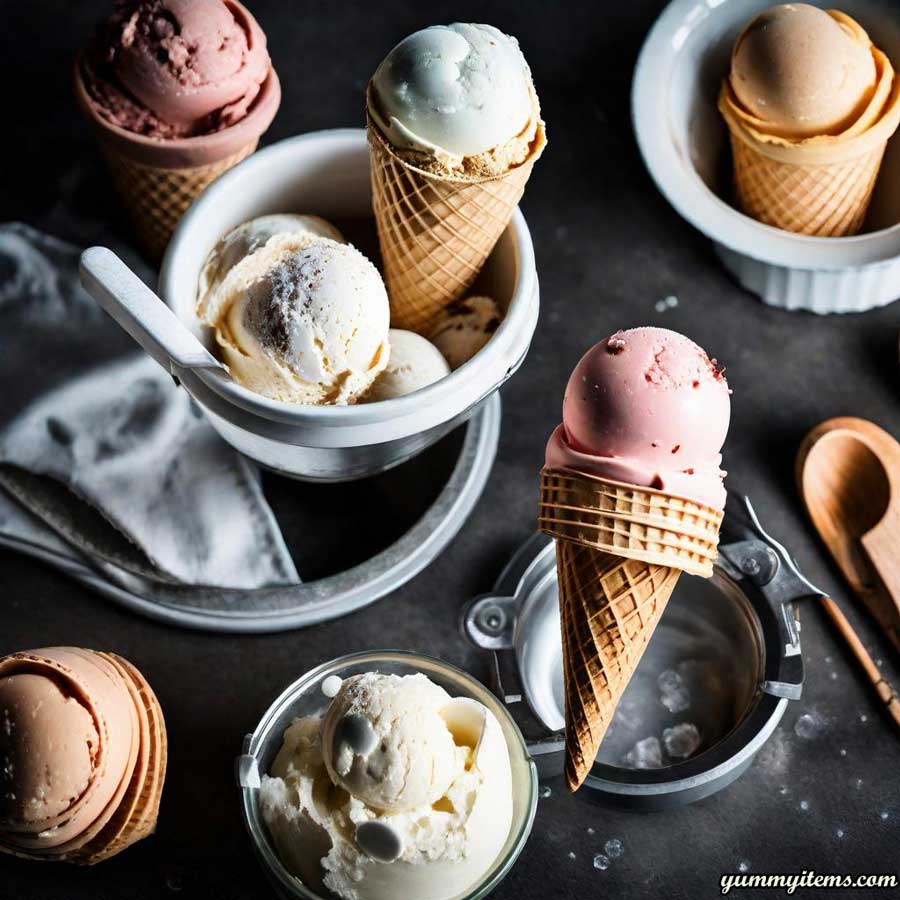
While classic vanilla ice cream is a timeless favorite, there’s a world of exciting flavors waiting to be explored. Elevate your homemade ice cream game by experimenting with unique and delicious variations. Here are some delightful flavor ideas to get you started:
1. Chocolate Chip Cookie Dough:
- Fold chunks of homemade or store-bought chocolate chip cookie dough into your ice cream base.
- Enjoy the irresistible combination of creamy vanilla ice cream and chunks of cookie dough studded with chocolate chips.
2. Mint Chocolate Chip:
- Add mint extract and green food coloring to your ice cream base.
- Fold in mini chocolate chips for a refreshing and chocolatey twist.
3. Salted Caramel Swirl:
- Create a salted caramel sauce and swirl it into your vanilla ice cream during the last few minutes of churning.
- The sweet and salty contrast is pure indulgence.
4. Strawberry Cheesecake:
- Mix in strawberry puree and chunks of cheesecake into your ice cream base.
- It’s like enjoying a slice of strawberry cheesecake in frozen form.
5. Cookies and Cream:
- Crush your favorite chocolate sandwich cookies and fold them into your vanilla ice cream.
- The cookies add crunch and a delightful chocolatey flavor.
6. Rocky Road:
- Combine chopped nuts, mini marshmallows, and chocolate chips into your ice cream.
- It’s a delightful texture and flavor explosion.
7. Coconut Almond Joy:
- Mix in toasted coconut flakes, chopped almonds, and mini chocolate chips.
- This tropical-inspired flavor will transport your taste buds to paradise.
8. Espresso Chip:
- Dissolve espresso powder or instant coffee in a small amount of hot water and add it to your ice cream base.
- Fold in chocolate chips for a rich coffee-chocolate experience.
9. Peanut Butter Cup:
- Swirl in peanut butter and chunks of peanut butter cups into your vanilla ice cream.
- Peanut butter
Conclusion
In this ultimate guide to homemade vanilla ice cream, we’ve covered everything you need to know to create the perfect frozen treat. Whether you have an ice cream maker or not, whether you prefer it with condensed milk or a quick and easy version, you’re now equipped with the knowledge and recipes to satisfy your ice cream cravings at any time. So, gather your ingredients, get ready to churn or mix, and treat yourself to the delightful world of homemade vanilla ice cream. Your taste buds will thank you!

