Chicken tenders, with their golden, crispy exterior and tender, juicy interior, are a beloved comfort food that appeals to all ages. Whether you’re looking for an easy weeknight meal or a crowd-pleasing appetizer, homemade fried chicken tenders are the answer. In this comprehensive guide, we’ll take you through everything you need to know to create the best chicken tenders at home. From a basic recipe to pan-frying without buttermilk, achieving crispiness, and even a healthier baked version, we’ve got you covered. Get ready to master the art of making perfect fried chicken tenders.
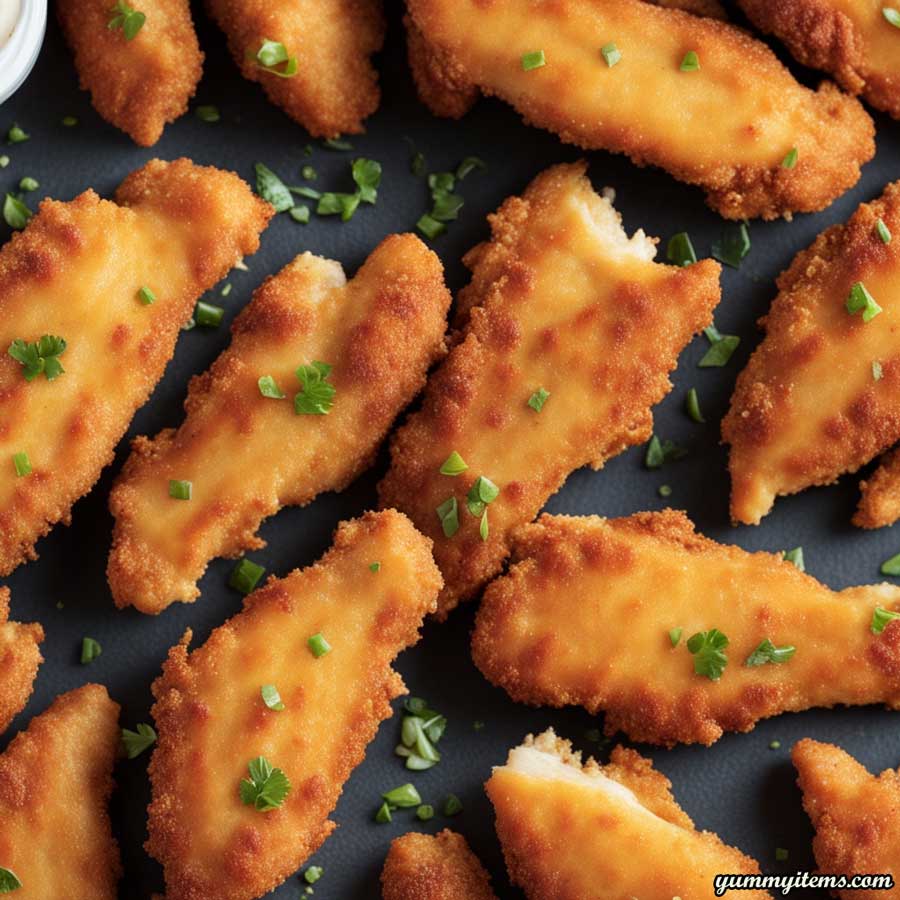
Table of Contents
- Why Homemade Chicken Tenders?
- The Appeal of Chicken Tenders
- The Joy of Cooking at Home
- Equipment You’ll Need
- The Basics: Easy Chicken Tenders Recipe
- Ingredients for Classic Chicken Tenders
- Step-by-Step Instructions
- Tips for Tastier Tenders
- Crispy Perfection: Best Chicken Tenders Recipe Fried
- Secret Ingredients for Ultimate Crispiness
- Techniques for Breading Success
- The Perfect Fry
- No Buttermilk? No Problem: Chicken Tenders Recipe Fried Without Buttermilk
- Alternative Marinades and Tenderizers
- Maintaining Flavor and Moisture
- Pan-Fried Goodness: Pan-Fried Chicken Tenders Recipe
- The Pan-Frying Method
- Achieving Uniform Cooking
- Timing It Right
- How Long to Fry Chicken Tenders in a Pan?
- The Ideal Cooking Time
- Checking for Doneness
- Healthier Alternatives: Baked Chicken Tenders Recipe Fried
- Baking vs. Frying: Pros and Cons
- Preparing and Baking Chicken Tenders
- Achieving a Crispy Baked Coating
- Serving and Dipping Sauces
- Classic Dipping Sauces
- Homemade Dipping Sauce Recipes
- Pairing Sides and Beverages
- Variations and Creative Twists
- Spicing It Up: Buffalo Chicken Tenders
- Sweet and Savory: Honey Mustard Glazed Tenders
- International Flavors: Sesame-Ginger Chicken Tenders
- Conclusion: Savoring Your Homemade Chicken Tenders
Chapter 1: Why Homemade Chicken Tenders?
The Appeal of Chicken Tenders
Chicken tenders are a universally beloved dish known for their crispy coating and tender, juicy meat. Whether you’re a kid or an adult, there’s something undeniably satisfying about biting into a perfectly fried chicken tender. They’re versatile, making them suitable for everything from casual family dinners to game day snacks.
The Joy of Cooking at Home
While it’s convenient to order chicken tenders at a restaurant or grab a bag from the freezer aisle, making them at home allows you to control the quality of ingredients, experiment with flavors, and create a truly customized dish. Plus, it’s a fun and rewarding cooking experience.
Equipment You’ll Need
Before you dive into making chicken tenders, ensure you have the following equipment on hand:
- Mixing bowls
- Frying pan or skillet
- Cooking thermometer
- Tongs or a slotted spoon
- Wire rack (for draining fried tenders)
- Baking sheet and wire rack (for baking tenders)
Now, let’s move on to the basics of an easy chicken tenders recipe.
Chapter 2: The Basics: Easy Chicken Tenders Recipe
Ingredients for Classic Chicken Tenders
For a classic and straightforward batch of chicken tenders, gather the following ingredients:
- 1 pound of chicken tenders (or boneless, skinless chicken breasts cut into strips)
- 1 cup of all-purpose flour
- 2 large eggs
- 2 cups of breadcrumbs (preferably panko for extra crispiness)
- 1 teaspoon of salt (adjust to taste)
- 1/2 teaspoon of black pepper
- 1/2 teaspoon of paprika (optional, for added flavor)
- Vegetable oil for frying
Step-by-Step Instructions
- Set up a breading station with three shallow bowls: one with flour, one with beaten eggs, and one with breadcrumbs mixed with salt, pepper, and paprika.
- Start by coating each chicken tender with flour, shaking off any excess.
- Dip the floured chicken into the beaten eggs, ensuring it’s well coated.
- Transfer the egg-coated chicken to the breadcrumb mixture, pressing the breadcrumbs onto the chicken to adhere.
- Heat vegetable oil in a frying pan or skillet over medium-high heat until it reaches 350-375°F (175-190°C).
- Carefully place the breaded chicken tenders into the hot oil, a few at a time, ensuring they’re not overcrowded.
- Fry the tenders for about 3-4 minutes per side, or until they turn golden brown and reach an internal temperature of 165°F (74°C).
- Use tongs or a slotted spoon to remove the cooked tenders and place them on a wire rack to drain any excess oil.
Tips for Tastier Tenders
- For an extra kick of flavor, add your favorite seasonings to the breadcrumb mixture.
- Ensure the oil is hot enough before frying to achieve a crispy exterior without excess oil absorption.
- Use a wire rack to drain the fried tenders, which helps maintain their crispiness.
With these basics down, you can create delicious chicken tenders that are sure to please your taste buds.
Chapter 3: Crispy Perfection: Best Chicken Tenders Recipe Fried
Secret Ingredients for Ultimate Crispiness
To take your chicken tenders from good to great, consider incorporating the following secret ingredients:
- Buttermilk Marinade: Soak the chicken tenders in buttermilk for a few hours or overnight. The acidity of the buttermilk tenderizes the meat and adds a subtle tangy flavor.
- Seasoned Flour: Add a variety of seasonings to the flour mixture, such as garlic powder, onion powder, cayenne pepper, or dried herbs. This infuses the tenders with extra flavor.
- Double Coating: Dip the buttermilk-soaked chicken tenders back into the seasoned flour mixture for a second coating before frying. This creates an extra crispy crust.
Techniques for Breading Success
To achieve perfect breading every time:
- Use one hand for the wet ingredients (buttermilk or eggs) and the other for the dry ingredients (flour or breadcrumbs) to prevent clumpy fingers.
- Press the breadcrumbs onto the chicken firmly but gently to ensure they adhere well.
- Allow the breaded tenders to rest for a few minutes before frying to help the coating adhere.
The Perfect Fry
To fry chicken tenders to perfection:
- Maintain a consistent oil temperature of 350-375°F (175-190°C) throughout frying.
- Avoid overcrowding the frying pan, which can lower the oil temperature and result in uneven cooking.
- Use a cooking thermometer to ensure the tenders reach an internal temperature of 165°F (74°C).
By incorporating these tips and techniques, you’ll create chicken tenders that are exceptionally crispy and bursting with flavor.
Chapter 4: No Buttermilk? No Problem: Chicken Tenders Recipe Fried Without Buttermilk
Alternative Marinades and Tenderizers
If you don’t have buttermilk on hand or prefer a different flavor profile, you can use alternative marinades and tenderizers, such as:
- Yogurt: Plain yogurt or Greek yogurt can work as a buttermilk substitute. They add creaminess and acidity to the chicken.
- Milk and Vinegar: Mix 1 cup of milk with 1 tablespoon of white vinegar or lemon juice. Let it sit for a few minutes to curdle and create a buttermilk-like substitute.
- Brine: Soak the chicken tenders in a brine solution made of water, salt, and sugar. This not only tenderizes the meat but also adds flavor.
Maintaining Flavor and Moisture
To maintain the flavor and moisture of your chicken tenders without buttermilk:
- Season the alternative marinade or brine with your preferred seasonings, such as garlic powder, onion powder, or herbs.
- Marinate the chicken tenders for at least 30 minutes, or longer if possible, to ensure they absorb the flavors.
By using these alternative marinades and tenderizers, you can still achieve deliciously tender and flavorful chicken tenders.
Chapter 5: Pan-Fried Goodness: Pan-Fried Chicken Tenders Recipe
The Pan-Frying Method
Pan-frying chicken tenders is a great option for those who prefer not to deep-fry. Here’s how to do it:
- Heat a few tablespoons of vegetable oil in a large skillet or frying pan over medium-high heat.
- Place the breaded chicken tenders in the hot pan, ensuring they’re not overcrowded.
- Cook for approximately 3-4 minutes on each side, or until they turn golden brown and reach an internal temperature of 165°F (74°C).
- Use a spatula to flip the tenders carefully.
- Once cooked, transfer the tenders to a wire rack to drain any excess oil.
Achieving Uniform Cooking
To ensure uniform cooking of pan-fried chicken tenders:
- Arrange the tenders in a single layer in the pan, leaving enough space between them to allow for even cooking.
- Use a meat thermometer to check the internal temperature, as this is the most reliable indicator of doneness.
Timing It Right
The cooking time for pan-fried chicken tenders is similar to deep-fried tenders, usually about 3-4 minutes per side. However, the exact time may vary depending on the thickness of the tenders and the heat of your stove.
Pan-frying offers a convenient and tasty alternative to deep-frying while still achieving crispy chicken tenders.
Chapter 6: How Long to Fry Chicken Tenders in a Pan?
The Ideal Cooking Time
The cooking time for pan-fried chicken tenders depends on several factors, including the thickness of the tenders and the temperature of the pan. However, as a general guideline, here’s how long to fry chicken tenders in a pan:
- For tenders that are approximately 1/2 inch thick, cook for about 3-4 minutes on each side.
- Thicker tenders may require an additional minute or two per side.
- Use a meat thermometer to ensure the internal temperature reaches 165°F (74°C).
Checking for Doneness
The most reliable way to check if chicken tenders are done is to use a meat thermometer. Insert it into the thickest part of a tender without touching the bone. When the temperature reaches 165°F (74°C), the tenders are safe to eat.
Alternatively, you can cut into a tender to check if the meat is no longer pink, and the juices run clear. However, this method can result in some loss of juiciness.
By following these guidelines, you’ll achieve perfectly cooked pan-fried chicken tenders every time.
Chapter 7: Healthier Alternatives: Baked Chicken Tenders Recipe Fried
Baking vs. Frying: Pros and Cons
While fried chicken tenders are undeniably delicious, some may prefer a healthier alternative. Baked chicken tenders offer a lighter option with less oil and fewer calories. Here’s a quick comparison:
Pros of Baked Chicken Tenders:
- Lower in calories and fat
- Healthier cooking method
- Less mess and cleanup
- Easier preparation
Cons of Baked Chicken Tenders:
- Slightly different texture (less crispy)
- May require more seasoning for flavor
- Longer cooking time
Preparing and Baking Chicken Tenders
To make baked chicken tenders:
- Preheat your oven to 400°F (200°C).
- Follow the same steps for breading the chicken tenders as you would for fried tenders.
- Place the breaded tenders on a wire rack set on a baking sheet. This allows air circulation and helps maintain crispiness.
- Bake for approximately 20-25 minutes, flipping the tenders halfway through, or until they reach an internal temperature of 165°F (74°C).
Achieving a Crispy Baked Coating
To achieve a crispy coating when baking chicken tenders:
- Spray the breaded tenders with cooking spray before baking to help them brown and crisp up.
- Use panko breadcrumbs for added crunch.
Baked chicken tenders may not be as crispy as their fried counterparts, but they offer a healthier option without sacrificing flavor.
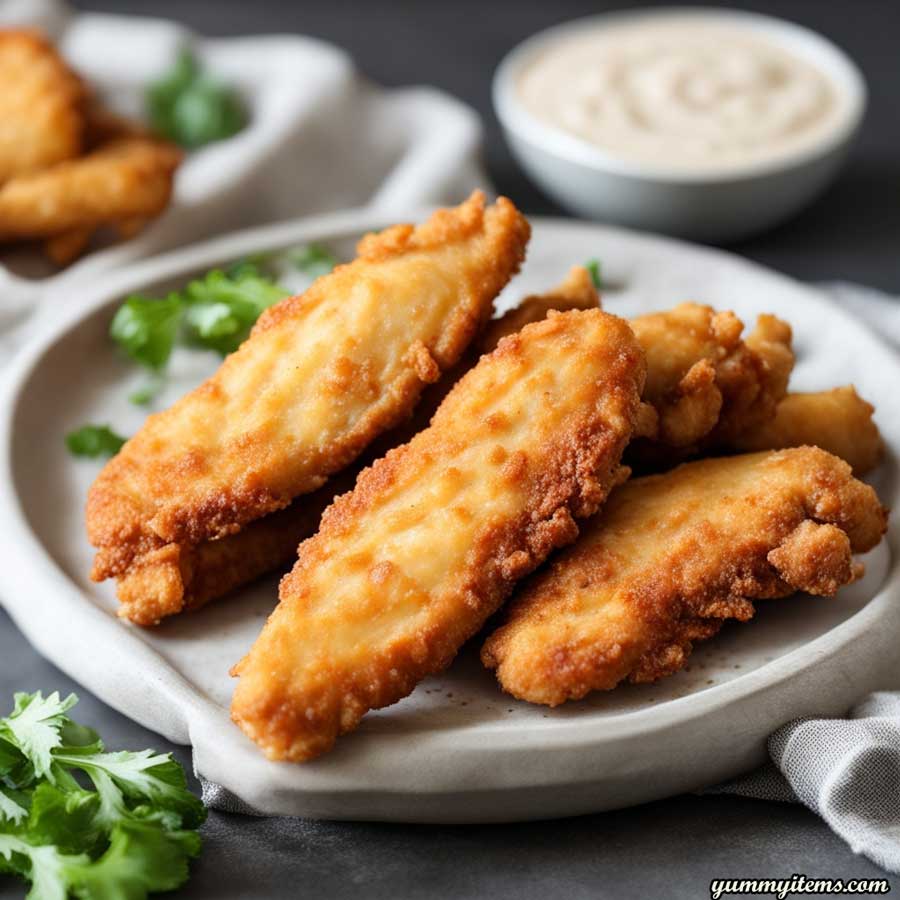
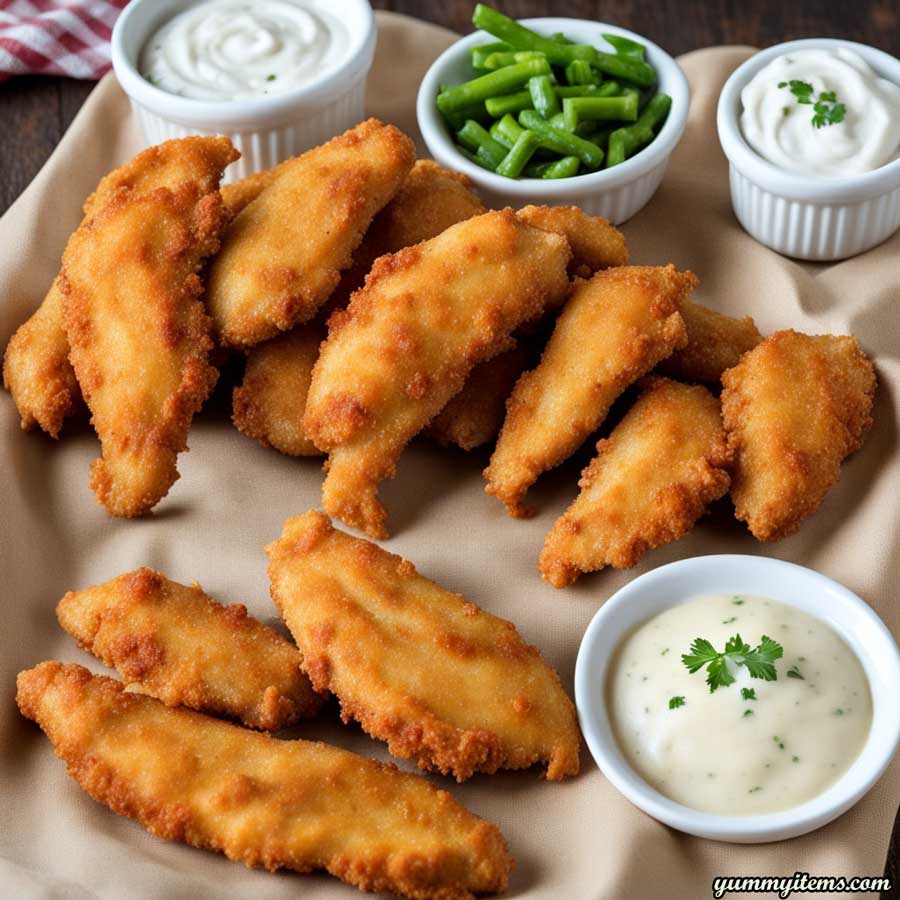
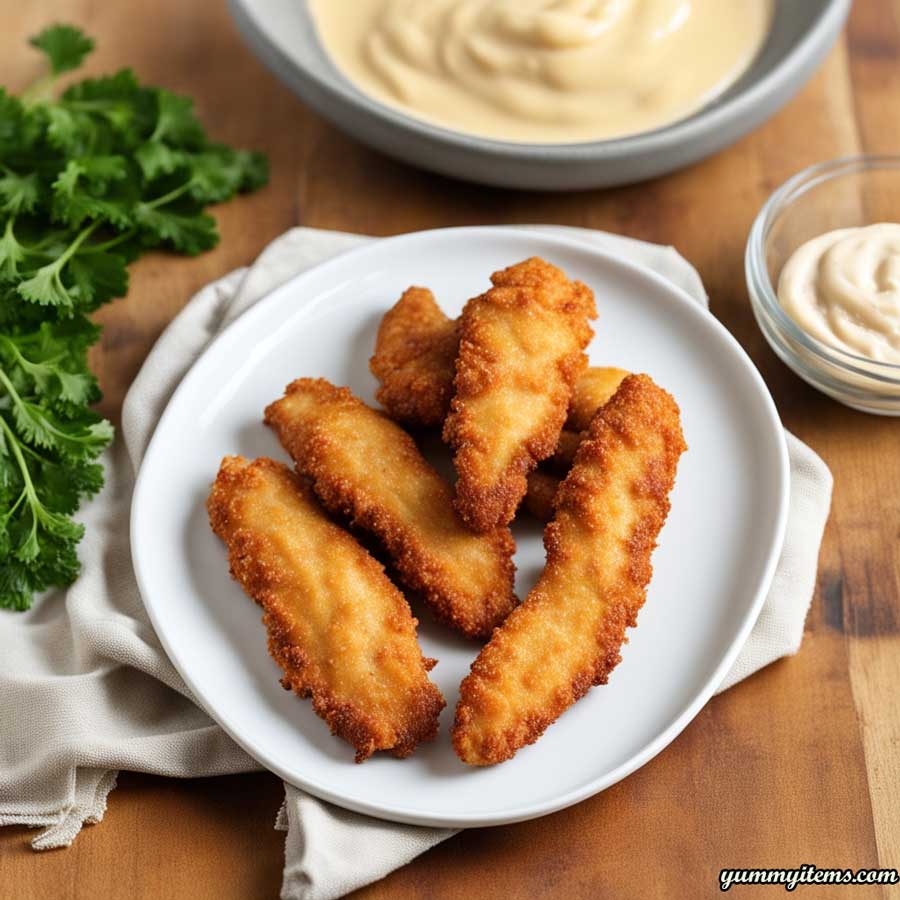
Chapter 8: Serving and Dipping Sauces
Classic Dipping Sauces
Chicken tenders are incomplete without a delicious dipping sauce. Some classic options include:
- Ketchup
- BBQ sauce
- Honey mustard
- Ranch dressing
- Blue cheese dressing
Homemade Dipping Sauce Recipes
For those who enjoy homemade sauces, here are a few recipes to elevate your chicken tenders:
- Honey Mustard Dipping Sauce:
- Mix equal parts honey and Dijon mustard.
- Add a dash of lemon juice, a pinch of garlic powder, and a sprinkle of salt and pepper.
- Spicy Sriracha Mayo:
- Combine mayonnaise with Sriracha sauce to taste.
- Add a squeeze of lime juice and a pinch of smoked paprika for extra flavor.
- Buffalo Wing Sauce:
- Mix hot sauce (such as Frank’s RedHot) with melted butter.
- Adjust the ratio of hot sauce to butter to achieve your preferred level of heat.
Pairing Sides and Beverages
Complete your chicken tenders meal with sides like coleslaw, French fries, or a simple green salad. For beverages, consider pairing your tenders with:
- Iced tea for a refreshing option
- A cold beer or cider for a satisfying match
- Lemonade or soda for a classic pairing
Serving the right sides and dipping sauces can elevate your chicken tenders experience.
Chapter 9: Variations and Creative Twists
Dive into Creative Flavors
While classic chicken tenders are always a hit, you can explore creative variations and flavors to switch things up:
Spicing It Up: Buffalo Chicken Tenders
Coat your tenders in buffalo sauce for a spicy kick. Serve with celery sticks and blue cheese dressing for the full buffalo wing experience.
Sweet and Savory: Honey Mustard Glazed Tenders
Add a honey mustard glaze by drizzling the sauce over the tenders during the last few minutes of cooking. The sweet and tangy flavor is irresistible.
International Flavors: Sesame-Ginger Chicken Tenders
Create an Asian-inspired twist by marinating the tenders in a mixture of soy sauce, ginger, and garlic. After breading, sprinkle sesame seeds on top for a nutty crunch.
These creative variations allow you to customize your chicken tenders to suit your taste and mood.
Chapter 10: Conclusion: Savoring Your Homemade Chicken Tenders
In conclusion, homemade chicken tenders are a versatile and crowd-pleasing dish that anyone can master. Whether you prefer the classic recipe, opt for a healthier baked version, or explore creative twists, the key to perfect chicken tenders lies in the breading and cooking techniques. With the tips and knowledge you’ve gained from this guide, you can confidently create crispy, tender, and delicious chicken tenders at home. So, savor every bite and enjoy the joy of homemade comfort food. Happy cooking!

