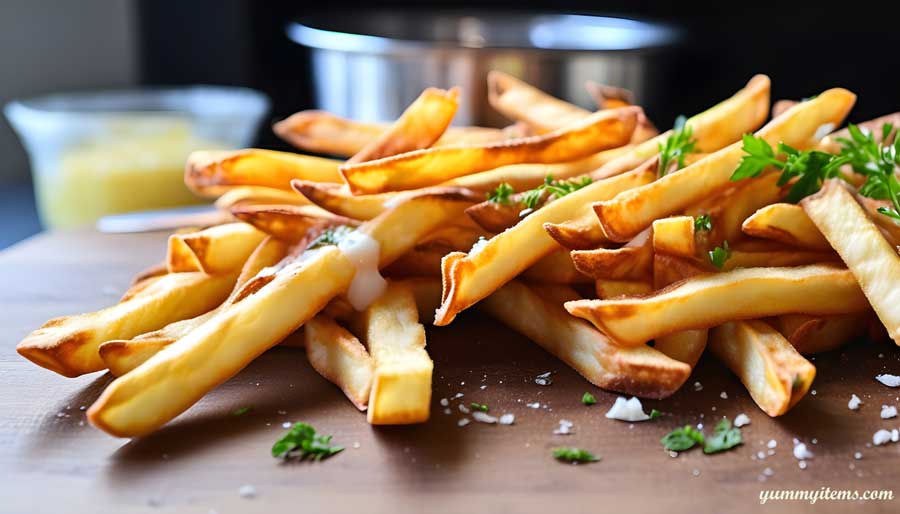
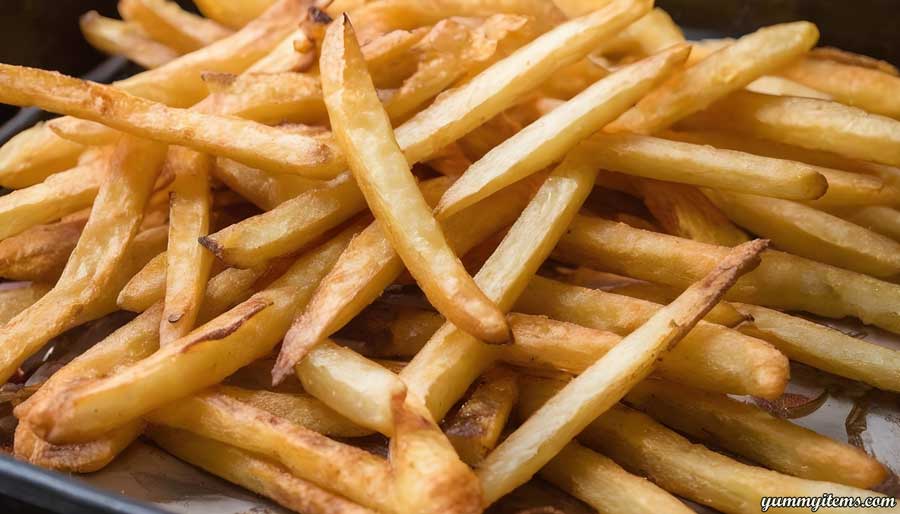
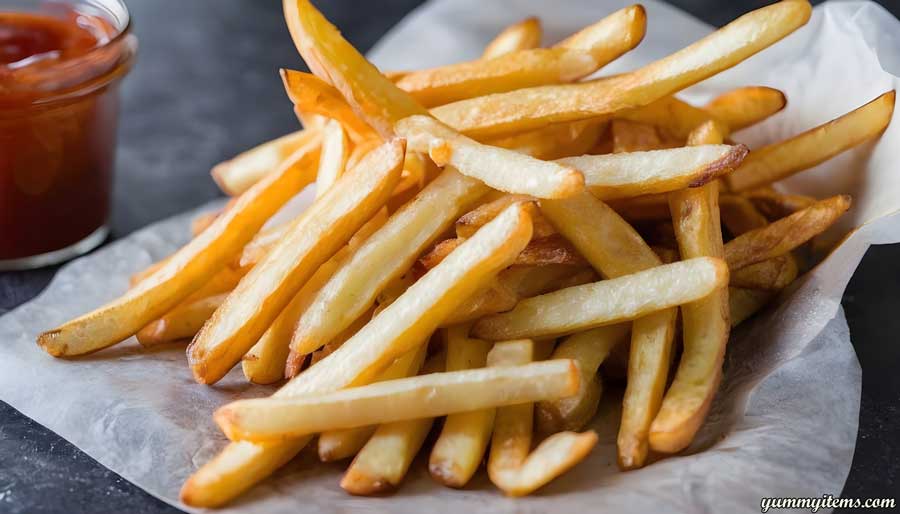
Who can resist the allure of crispy, golden-brown French fries? They’re a beloved side dish, a guilty pleasure, and a perfect snack. While it’s easy to succumb to the temptation of store-bought fries or fast-food options, there’s something undeniably satisfying about making your own homemade fries in the oven. In this comprehensive guide, we’ll explore how to achieve that perfect crispy texture, whether you’re a novice or a seasoned home cook. From the ideal oven temperature to secret ingredients and tips for frozen fries, we’ve got you covered. Let’s dive into the world of easy homemade oven fries!
Table of Contents
- The Basics of Homemade Oven Fries
- The Appeal of Homemade Fries
- Oven vs. Deep-Frying: Why Choose the Oven?
- Equipment You’ll Need
- Getting Started: Preparing Your Potatoes
- Choosing the Right Potatoes
- To Peel or Not to Peel?
- Cutting Fries to Perfection
- Soaking: A Crucial Step
- The Secret to Crispiness: How to Make Crispy French Fries in the Oven
- The Importance of Drying
- The Oil Choice: Which Is Best?
- Seasoning Your Fries
- Easy Homemade Fries Oven Recipe
- Step-by-Step Instructions
- Troubleshooting Common Issues
- Optimal Oven Temperatures for Perfect Fries
- How Long to Bake Fries at 400°F
- Finding the Sweet Spot: Baking at 425°F
- Pushing the Crispy Limit at 450°F
- Crispy Oven Fries with Cornstarch: A Game-Changer
- What Is Cornstarch’s Role?
- Cornstarch vs. Flour: Which Wins?
- Reviving Frozen Fries: How to Make Them Crispy
- The Freezer Aisle Dilemma
- Tips for Turning Frozen Fries into a Delight
- Serving Suggestions and Dipping Sauces
- Perfect Pairings
- Homemade Dipping Sauces
- Healthier Alternatives: Baked Sweet Potato Fries
- A Nutrient-Rich Swap
- Preparing and Baking Sweet Potato Fries
- Conclusion: Savoring Your Homemade Oven Fries
Chapter 1: The Basics of Homemade Oven Fries

The Appeal of Homemade Fries
There’s something about the aroma of homemade fries wafting through your kitchen that’s truly irresistible. While we can’t deny the convenience of picking up fast food or frozen fries from the store, the satisfaction of crafting your own batch is unparalleled. Homemade fries allow you to control the quality of ingredients, experiment with flavors, and achieve that perfect balance between crispy exterior and fluffy interior.
Oven vs. Deep-Frying: Why Choose the Oven?
Deep-frying is undoubtedly the classic method for achieving crispy fries, but it comes with drawbacks like excessive oil consumption, mess, and potential safety hazards. Oven-baked fries offer a healthier alternative without sacrificing flavor and texture. With the right techniques, your oven-baked fries can rival those from your favorite restaurant.
Equipment You’ll Need
Before we dive into the specifics of making crispy homemade fries in the oven, let’s ensure you have the right tools at your disposal. You’ll need:
- Baking sheets or trays
- Parchment paper or a silicone baking mat
- A sharp knife or a mandoline slicer
- A large mixing bowl
- Tongs or a spatula for flipping
- A wire rack (optional but recommended for extra crispiness)
Now that you’re equipped, let’s move on to the heart of the matter: preparing your potatoes.
Chapter 2: Getting Started: Preparing Your Potatoes

Choosing the Right Potatoes
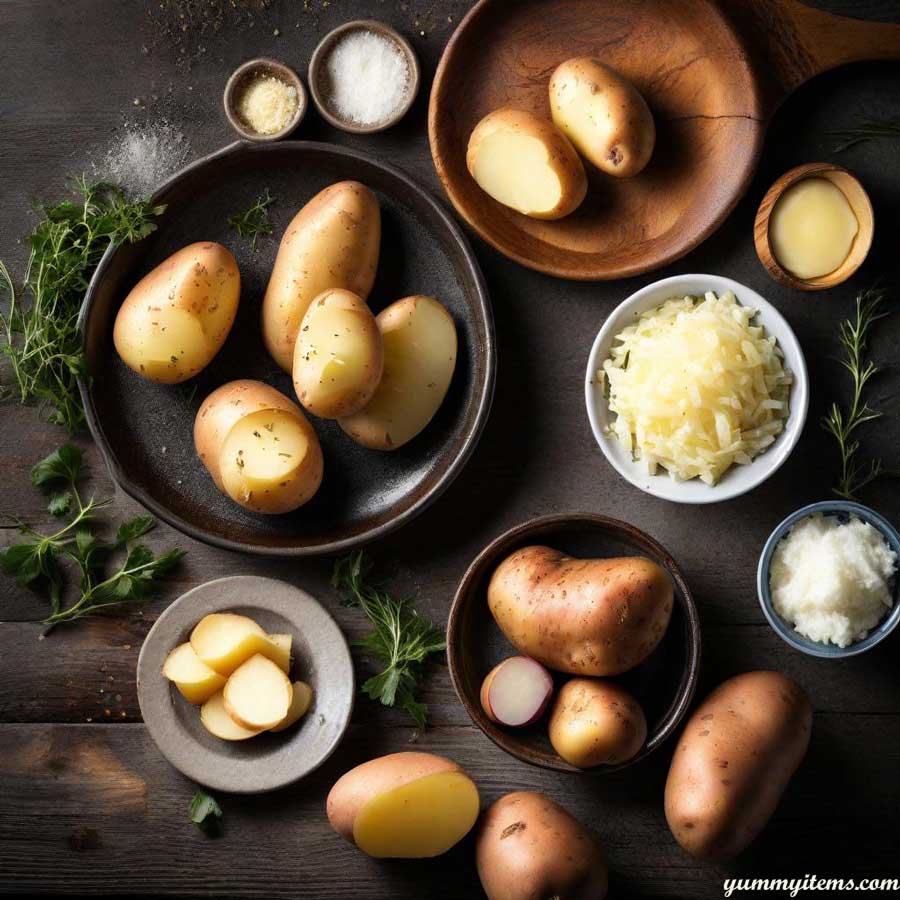
Not all potatoes are created equal when it comes to making homemade fries. Russet potatoes are the go-to choice for their high starch content and low moisture. This combination is key to achieving that perfect contrast between a crisp exterior and a tender interior. You can also use Yukon Gold or Kennebec potatoes, which strike a balance between starch and moisture.
To Peel or Not to Peel?
Peeling potatoes is a matter of personal preference. While some love the rustic look and added fiber of leaving the skin on, others prefer the smooth, uniform appearance of peeled fries. If you opt for unpeeled fries, make sure to scrub the potatoes thoroughly to remove any dirt or residue.
Cutting Fries to Perfection
Consistency is crucial when cutting your potatoes into fries. Aim for uniform thickness to ensure even cooking. You can achieve this with a sharp knife, but a mandoline slicer can be a game-changer, providing uniformity and precision. Standard fry size is around 1/4 to 1/2 inch thick.
Soaking: A Crucial Step
Soaking your cut potatoes in cold water is a vital step in the preparation process. This helps remove excess starch from the surface, preventing your fries from sticking together and promoting a crispier texture. Soak them for at least 30 minutes, or even overnight for the best results. Remember to change the water if it becomes cloudy to maximize starch removal.
Chapter 3: The Secret to Crispiness: How to Make Crispy French Fries in the Oven

The Importance of Drying
Once you’ve soaked your fries, it’s crucial to dry them thoroughly before baking. Excess moisture on the surface of the potatoes can lead to steaming instead of frying, resulting in less-than-crispy fries. Use paper towels or a clean kitchen towel to pat them dry gently.
The Oil Choice: Which Is Best?
The type of oil you choose can significantly impact the flavor and texture of your homemade oven fries. Some popular options include:
- Vegetable oil: A neutral flavor that lets the potato’s natural taste shine.
- Canola oil: Known for its high smoke point, making it suitable for high-temperature baking.
- Peanut oil: Adds a subtle nutty flavor and crisps up fries beautifully.
- Olive oil: Provides a distinctive taste and works well with seasonings like rosemary and garlic.
Experiment with different oils to find your favorite flavor profile. Whatever you choose, be sure to coat the fries evenly for a consistent result.
Seasoning Your Fries
The possibilities are endless when it comes to seasoning your homemade oven fries. The classic choice is salt, but don’t hesitate to get creative. Try:
- Garlic and parmesan
- Paprika and cayenne for a kick
- Rosemary and thyme for an herbal twist
- Cajun seasoning for some Southern flair
Mix your chosen seasonings with the oil before tossing the fries in the mixture, ensuring even distribution. Now that we’ve covered the basics of preparing your fries, it’s time to move on to the recipe for easy homemade fries in the oven.
Chapter 4: Easy Homemade Fries Oven Recipe

Step-by-Step Instructions
Ingredients:
- 4 large Russet potatoes
- 2-3 tablespoons of your preferred cooking oil
- 1 teaspoon salt (adjust to taste)
- Additional seasonings of your choice
Instructions:
- Preheat your oven to 425°F (220°C). While it’s heating, place a baking sheet or tray in the oven to preheat as well. This will help ensure even cooking.
- After peeling and cutting your potatoes into uniform fries, place them in a large bowl of cold water. Let them soak for at least 30 minutes, changing the water if it becomes cloudy.
- Drain and thoroughly pat dry the soaked fries with paper towels or a kitchen towel.
- In a separate bowl, mix your chosen cooking oil with the salt and any additional seasonings you desire.
- Toss the dried fries in the oil mixture, ensuring they are evenly coated.
- Carefully remove the preheated baking sheet from the oven and line it with parchment paper or a silicone baking mat. Spread the coated fries on the hot sheet in a single layer, ensuring they are not crowded.
- Bake in the preheated oven for about 30-40 minutes, flipping the fries halfway through. The exact cooking time may vary depending on your oven and the thickness of your fries. Keep a close eye on them to avoid overcooking.
- When the fries are golden brown and crispy, remove them from the oven and let them cool slightly on a wire rack to maintain their crispiness.
Enjoy your homemade oven fries while they’re hot and at their crispiest best!
Troubleshooting Common Issues
- If your fries are not crispy enough, try baking them a little longer or increasing the oven temperature slightly in the last few minutes of cooking.
- If they’re too browned on the outside before becoming crispy, your oven may be running hot. Consider using an oven thermometer to verify the temperature accuracy.
- For extra crispy fries, consider using a wire rack on top of the baking sheet to allow air circulation and prevent sogginess.
Now that you’ve mastered the art of making easy homemade oven fries, let’s explore the optimal oven temperatures for achieving that perfect crispiness.
Chapter 5: Optimal Oven Temperatures for Perfect Fries
How Long to Bake Fries at 400°F
Baking your fries at 400°F (200°C) is a popular choice. This temperature strikes a balance between achieving a crispy exterior and ensuring the interior cooks through. Typically, you’ll need to bake them for about 30-40 minutes, flipping them halfway through. Keep a close eye on them as they near the end of their cooking time to avoid overcooking.
Finding the Sweet Spot: Baking at 425°F
Baking fries at 425°F (220°C) is a great option for those seeking a slightly quicker cooking time and a crisper exterior. You can expect your fries to be ready in approximately 25-35 minutes. Again, remember to flip them halfway through to ensure even cooking.
Pushing the Crispy Limit at 450°F
If you’re looking for the crispiest homemade oven fries, consider baking them at 450°F (230°C). At this temperature, your fries will cook in about 20-30 minutes, with a beautifully crispy exterior. Just be vigilant during the last few minutes of baking to prevent any burning.
Now that you know the optimal temperatures for your fries, let’s explore a secret ingredient that can take your homemade oven fries to the next level: cornstarch.
Chapter 6: Crispy Oven Fries with Cornstarch: A Game-Changer
What Is Cornstarch’s Role?
Cornstarch is a magical ingredient when it comes to achieving ultimate crispiness in your homemade oven fries. When mixed with the oil and seasonings, cornstarch forms a thin, crispy layer that envelops each fry during baking. This layer not only adds a delightful crunch but also helps to lock in moisture, ensuring the interior remains tender.
Cornstarch vs. Flour: Which Wins?
While both cornstarch and flour can be used as coatings for oven fries, cornstarch is generally preferred for its ability to produce a thinner, crisper layer. Flour can create a thicker, doughy texture. To use cornstarch, simply mix it with your chosen seasonings and oil before tossing the fries. You’ll be amazed at the results it produces!
Now that you’re armed with the knowledge of how to achieve crispy perfection, let’s address a common question: How can you make frozen fries crispy in the oven?
Chapter 7: Reviving Frozen Fries: How to Make Them Crispy
The Freezer Aisle Dilemma
We’ve all been there—opting for the convenience of frozen fries from the freezer aisle. While they may not have the charm of homemade, you can still make them impressively crispy in the oven.
Tips for Turning Frozen Fries into a Delight
- Preheat Your Oven: Ensure your oven is fully preheated to the temperature recommended on the frozen fries’ packaging. This typically ranges from 400°F to 450°F.
- Use a Wire Rack: Placing frozen fries on a wire rack on top of a baking sheet can help air circulate around them, promoting crispiness.
- Avoid Crowding: Spread the frozen fries out in a single layer on the baking sheet. Overcrowding can lead to steaming and soggy results.
- Don’t Forget to Flip: Just like with homemade fries, remember to flip frozen fries halfway through the cooking time for even crispiness.
- Watch Closely: Keep an eye on them as they approach the recommended cooking time. Remove them when they reach your desired level of crispiness.
With these tips, you can transform your frozen fries into a crispy delight that rivals restaurant-quality fries.
Chapter 8: Serving Suggestions and Dipping Sauces
Perfect Pairings
Now that you’ve perfected your homemade oven fries, it’s time to think about what to pair them with. Whether you’re enjoying them as a side dish or a snack, consider these delicious combinations:
- Classic burgers and fries
- Hot dogs with a side of fries
- Steak and fries for a hearty meal
- Fried chicken tenders and fries
- Grilled cheese sandwich and a side of fries
Homemade Dipping Sauces
Elevate your homemade oven fries with a variety of homemade dipping sauces. Here are a few crowd-pleasers:
- Classic ketchup with a dash of hot sauce
- Creamy garlic aioli
- Tangy barbecue sauce
- Spicy sriracha mayo
- Sweet and savory honey mustard
Experiment with different dipping sauces to discover your favorite pairing.
Chapter 9: Healthier Alternatives: Baked Sweet Potato Fries
While we’ve explored the art of making traditional potato fries, it’s worth mentioning the healthier alternative: baked sweet potato fries. Sweet potatoes are rich in vitamins and minerals, and their natural sweetness makes them a delightful and nutritious choice.
A Nutrient-Rich Swap
Sweet potato fries offer a distinct flavor and vibrant color that can be just as satisfying as regular fries. To make them:
- Peel and cut sweet potatoes into uniform fries.
- Follow the same steps for soaking and drying as you would with regular potatoes.
- Toss the sweet potato fries in your preferred seasonings and a bit of oil.
- Bake them at 425°F (220°C) for approximately 20-30 minutes, flipping halfway through.
Serve these nutritious baked sweet potato fries with a yogurt-based dip for a guilt-free treat.
Chapter 10: Conclusion: Savoring Your Homemade Oven Fries
In conclusion, homemade oven fries offer a world of culinary delights that you can easily create in your own kitchen. From selecting the right potatoes to mastering the perfect oven temperature, you now have the knowledge to make crispy, easy, and delicious fries at home. Whether you’re craving the classic russet potato or venturing into the realm of sweet potato fries, the possibilities are endless. So go ahead, gather your ingredients, and savor the satisfaction of enjoying your very own batch of homemade fries in the oven. You’ll never look at store-bought or fast-food fries the same way again. Happy cooking!


