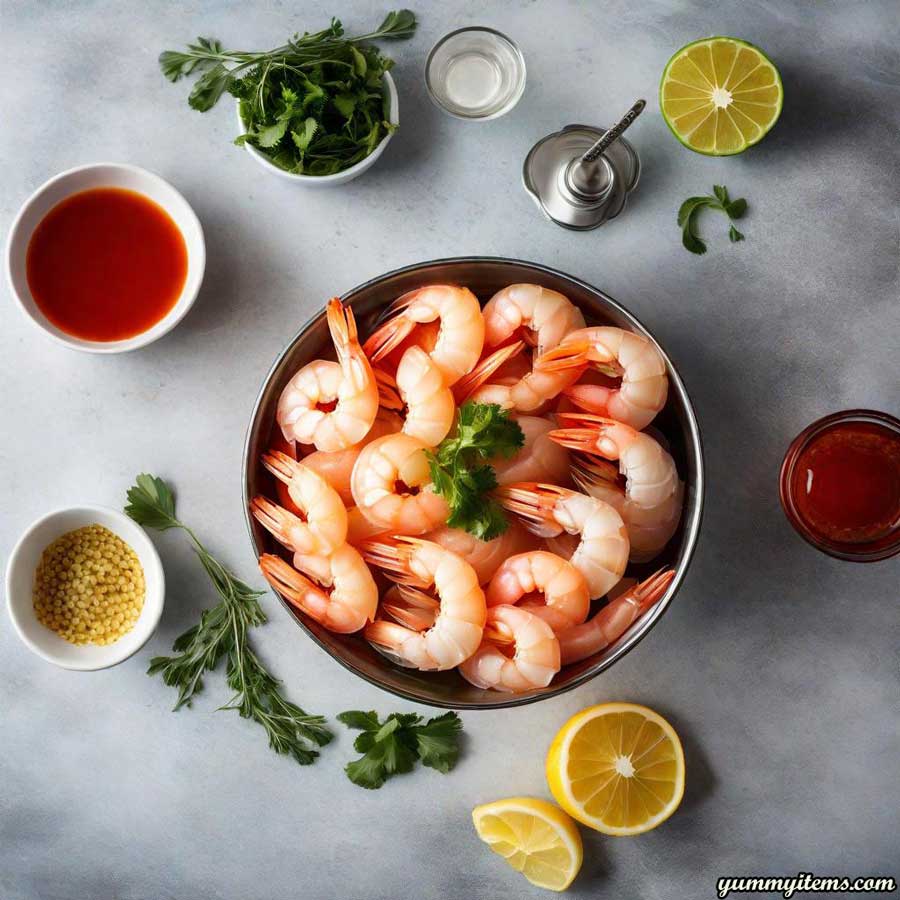
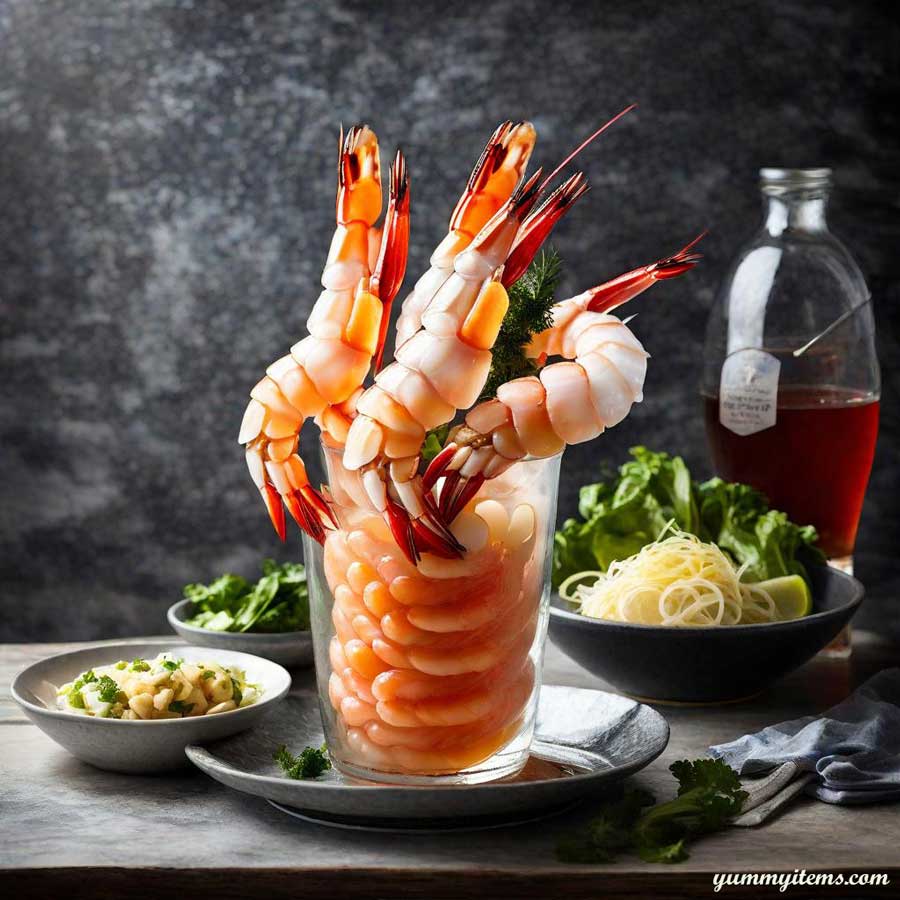
There’s nothing retro or ‘old school’ about this elegant yet satisfying cutting edge shrimp cocktail recipe!
Chilled Shrimp Cocktail Ingredients
2 dozen large shrimp, peeled but with tails still on
Brine ingredients
2 cups ice
1 cup water
1/4 cup salt
1/4 cup sugar
Cocktail sauce ingredients
1 x 14.5 oz can tomatoes (diced), drained
1/2 cup Heinz chilli sauce
4 tablespoons prepared horseradish
1 tablespoon olive oil
1 teaspoon sugar
1/2 teaspoon salt
salt & pepper, to taste
Old Bay seasoning, to taste

Chilled Shrimp Cocktail Directions
To start, you’ll need to de-vein the shrimp. To do that, use a pair of scissors (or a serrated knife) to make a small cut down the back of each shrimp to follow the intestinal track (you’ll usually see a black line – that’s it). Remove the intestinal track and then rinse the shrimp in cool running water. Make sure to try to leave the rest of the shrimp shell unharmed.
After the shrimp have been de-veined, place them into a bowl containing the brine.
Refrigerate for half an hour.
While the shrimp are in the refrigerator, continue with the next steps.
Combine the can of diced tomatoes, chilli sauce, sugar, salt, pepper & horseradish in a food processor.
Keep Blending the ingredients until the mixture becomes smooth.
Then remove the cocktail sauce from the processor and into a bowl. Then refrigerate the item until you’re fully ready to serve the shrimp cocktail.
Place a baking sheet or broiler pan underneath your oven broiler and preheat for five minutes.
Remove the de-veined shrimp from the brine, rinse them under cold running water, drain them thoroughly, then pat them dry with some paper towel.
Add the shrimp, olive oil and Old Bay seasoning to large bowl and stir so that each shrimp gets coated in the olive oil and seasoning.
Arrange the shrimp on the hot pan and return it to the broiler for two minutes.
Turn the shrimp over and allow to cook for a further minute.
Take the shrimp off the pan and allow to cool on a on a cold cookie sheet.
Chill in the refrigerator for 2 hours.
The phrase “chill in the refrigerator for 2 hours” may seem like a simple instruction in a recipe, but its significance goes far beyond just waiting for a specified period. It’s a culinary technique that can make a world of difference in the outcome of your dish. So, why exactly is chilling for two hours so crucial?
- Flavor Fusion: When ingredients are allowed to rest together in the cold environment of the refrigerator, their flavors have time to meld and intensify. Whether it’s a marinade infusing into meat or a salad dressing marrying with fresh vegetables, those two hours allow for a depth of flavor that you simply can’t achieve with a quick toss.
- Texture Enhancement: Ever notice how some dishes taste better the next day? That’s often because the ingredients have had time to settle and the textures have become more cohesive. Chilling for two hours can have a similar effect, particularly in dishes like chilled soups, where the flavors come together beautifully and the texture becomes velvety smooth.
- Set and Solidify: Many recipes require chilling to help them set and solidify. From custards and mousses to cheesecakes and gelatin desserts, that time in the refrigerator is essential for achieving the perfect consistency. Without it, you risk ending up with a runny mess rather than a beautifully plated dessert.
- Allowing Flavors to Develop: Some ingredients need time to develop their full potential. Take pickles, for example. By chilling cucumbers in a vinegar brine for a couple of hours (or even days), you give them the opportunity to absorb all those tangy, flavorful notes, transforming them into the crunchy, zesty treats we know and love.
- Temperature Control and Food Safety: Of course, there’s also the practical aspect of chilling in the refrigerator. Keeping perishable ingredients cold helps prevent bacterial growth and ensures that your food stays safe to eat. So, those two hours aren’t just about flavor and texture—they’re also about food safety.
In essence, when a recipe instructs you to “chill in the refrigerator for two hours,” it’s asking for your patience and trust in the process. It’s giving the flavors time to mingle, the textures time to develop, and the ingredients time to reach their full potential. So, next time you come across those words in a recipe, remember that those two hours are more than just a waiting period—they’re a crucial step in creating a dish that’s truly unforgettable.


